Key takeaways
- Approve a base and the grading logic separately.
- Treat length, width and shape as different decisions.
- Select checkpoints by risk, not by a universal size interval.
What a grade rule actually decides
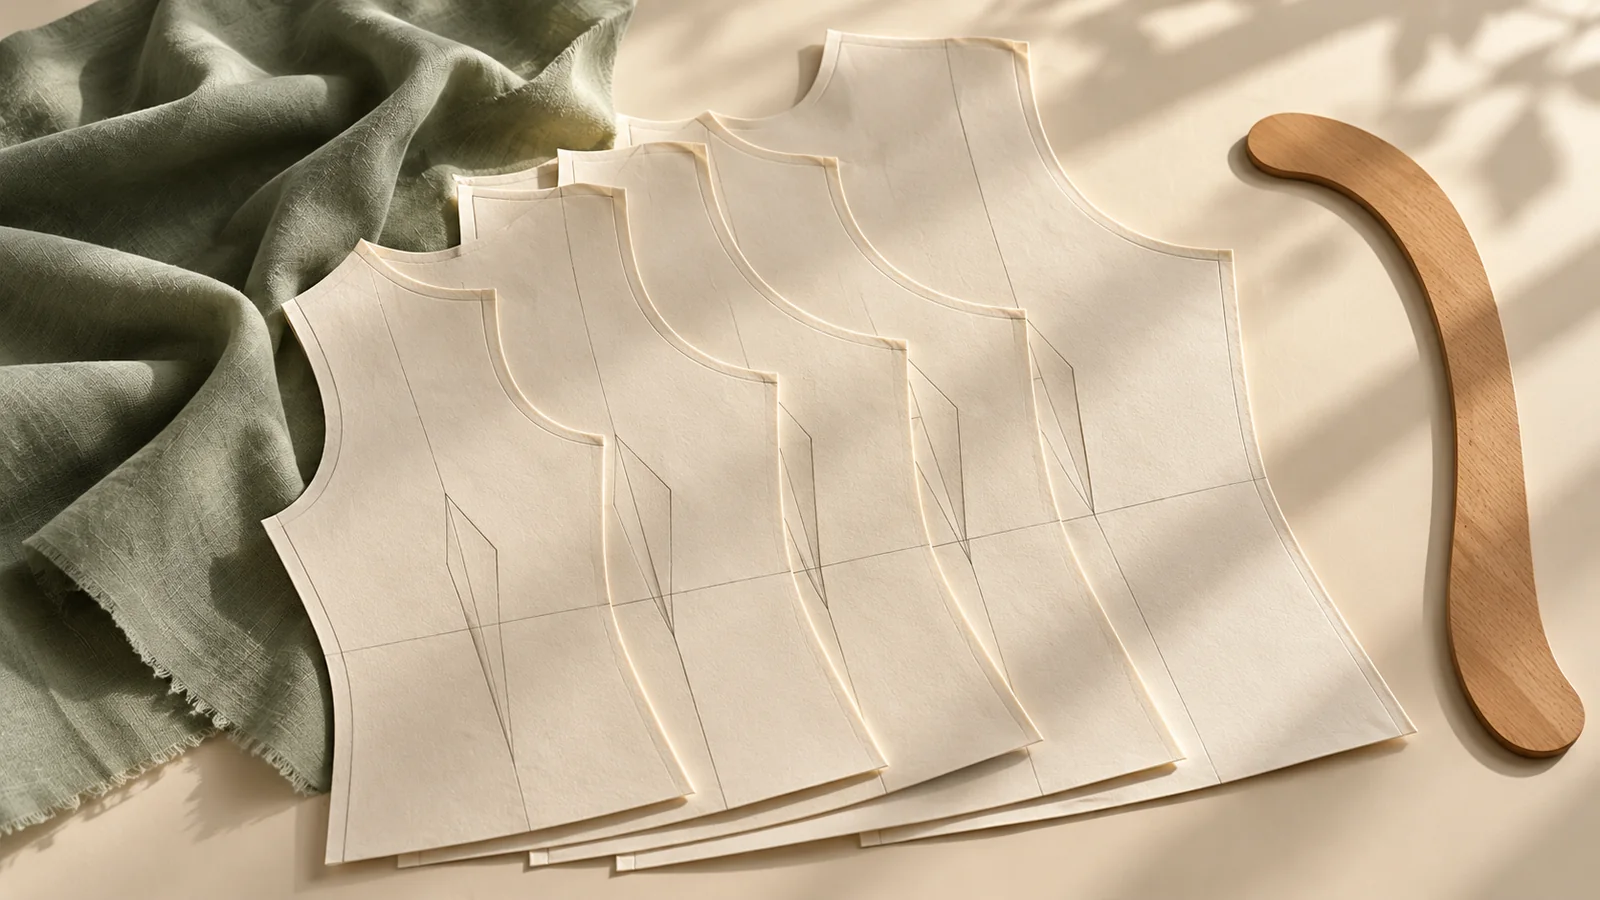
Grading changes a pattern between sizes. A buyer should be able to trace those changes to defined points: shoulder, bust, waist, hip, upper arm, rise and relevant lengths. Adding the same amount around every edge does not explain where extra room belongs. A larger circumference can coexist with similar shoulder width or a different front-to-back distribution. Those relationships must be investigated rather than inferred from a letter label.
The public scope of ASTM D6960/D6960M-16e1: plus women’s body measurement tables (historical edition) describes a body-measurement reference, not a finished-garment specification. This distinction matters: a reference table is one input to development, alongside silhouette, material and wearer requirements. It is not permission to convert S–8XL into a universal numerical US range.
Choose the checkpoints before ordering samples
Start by identifying the sizes on either side of any change in grading rule. Add a high-risk size where the design concentrates tension: a fitted bust, a close upper sleeve or a shaped trouser seat. If a proposed range is broad, ask the pattern team whether more than one base block is appropriate. Do not demand a second block merely because a marketing label changes; ask what fit evidence makes it necessary.
A checkpoint sample should use the intended material or clearly document the difference. A soft substitute fabric may disguise a restrictive armhole. Label each sample with its pattern version, material reference and intended body chart so a comment cannot silently migrate to the wrong version.
A practical review sequence
Compare the graded measurement sheet first. Look for unexplained jumps, repeated values where a change was expected and length increases that do not match the design brief. Then compare paper relationships, such as front and back seam lengths, before evaluating the assembled garment. Finally, review standing and seated balance on appropriate fit participants with consent.
Use comments that locate the problem: “front hem lifts when seated” is more useful than “large size looks wrong.” Separate observation from proposed correction. The pattern maker should explain whether the cause is front length, distribution, fabric behaviour or another issue before the buyer instructs a blanket increase.
An illustrative decision—not a grading formula
Suppose a blouse is comfortable at the approved base but restricts reach at an upper checkpoint. Increasing every circumference may add unwanted shoulder width while failing to resolve the sleeve relationship. Ask for a controlled revision focused on the suspected area, and compare it with the unchanged reference. This is a development method, not a claim that one alteration solves every reach problem.
Record which other sizes the correction affects. A local fix that is copied through the entire range can create new problems at the lower end. Require the updated specification and sample comments to refer to the same revision number.
When more sampling is worth the cost
Additional checkpoints make sense when the run is wide, the silhouette is fitted, the material is unfamiliar or the style introduces a new block. A repeat style using an unchanged approved block may need a narrower verification plan. Neither situation justifies skipping review after a material substitution. Agree the risk and evidence before allocating sample cost.
For FORMIVA, S–8XL describes overall development scope, not one universal chart or every style’s availability. Bring your target body chart and intended silhouette to the sample discussion. The useful purchasing outcome is a documented, style-specific size run—not a larger number printed on a label.
Build a checkpoint specification the factory can use
Create a drawing that locates every measurement used for approval. A chest circumference without a measurement level is incomplete; a sleeve value without a start and end point is similarly ambiguous. Mark whether the garment is measured closed, relaxed and flat, and state the units. Give the pattern team the intended body reference separately from the garment measurement sheet. Otherwise, the same number may be interpreted as a wearer dimension by one person and a finished dimension by another.
Next, identify the sizes that bracket important changes in the rules. These may be associated with a change of block or with a particular proportion that needs separate attention. Do not invent breakpoints merely to create a regular-looking table. Ask the developer to explain the proposed checkpoints and the evidence needed to release the intervening sizes. Keep a column for unanswered questions rather than filling gaps with apparently precise numbers.
A useful handover contains the base-size sample reference, the grade-rule version, the checkpoint sizes and the open issues. Name one person who can approve a change. When a buyer and a factory both edit the sheet, use a comparison record that shows the previous value, proposed value and reason. A corrected spreadsheet with no revision history can leave production using the wrong interpretation even if its final numbers are sensible.
A controlled blouse revision exercise
Consider a hypothetical woven blouse whose upper checkpoint has sufficient chest room but pulls forward at the shoulder. The team should not conclude that the entire garment needs more width. Photograph the same neutral poses, record the pressure location and compare the shoulder, armhole and front–back balance with the approved base. Ask the pattern maker for a hypothesis and a limited revision that can distinguish it from other explanations.
If the next sample changes the sleeve, shoulder, chest width and fabric at once, it becomes difficult to identify what improved the result. A buyer may still choose a combined revision for speed, but should acknowledge the reduced diagnostic clarity. Where possible, hold material and construction constant while reviewing the proposed proportional correction.
After the checkpoint is accepted, ask which adjacent sizes require verification. Do not treat the improved sample as permission to copy an arbitrary change across the whole run. The commercial decision is whether the remaining uncertainty is acceptable for the intended order—not whether the size labels look evenly spaced on a chart.
Decision checklist
| Review layer | Evidence to request | Warning sign |
|---|---|---|
| Base fit | Approved sample and body reference | No material identification |
| Grade rules | Point-by-point increments and breakpoints | One unexplained increment everywhere |
| Upper checkpoints | Physical review and measurement record | Approval based only on a scaled image |
| Release | Matching pattern and specification versions | Comments still describe an older sample |
Frequently asked questions
Does every size need a separate fitting?
Not automatically. Agree risk-based checkpoints, including any grading breakpoints, and add samples when the evidence shows uncertainty.
Can a large sample validate the entire range?
No. It can identify problems at that size, but it does not establish the behaviour of intermediate sizes.
Should all garment lengths increase with size?
Only according to the intended proportion and approved rules. Width changes do not automatically require the same kind of length change.
Is a digital pattern enough for approval?
It helps review geometry, but it cannot independently verify the finished garment’s movement and fabric behaviour.
Sources & scope
- ASTM D6960/D6960M-16e1: plus women’s body measurement tables (historical edition)
Public scope only; no paid measurement tables reproduced. Not a mapping for FORMIVA sizes. Source date: 2016; historical listing updated 2023-08-07. Checked 23 October 2026.
Your next step
Discuss your grading checkpoints →For your collection, confirm the style’s size chart and specifications. S–8XL is an overall development range, not a US size conversion.
Browse styles · Development services