Key takeaways
- Separate appearance, security, extension and comfort.
- Investigate the cause of puckering before prescribing a fix.
- Keep inspection observations distinct from laboratory results.
Ask what the seam must do
A side seam, pocket opening and decorative topstitch do different work. Identify where the garment experiences movement and where seam bulk contacts the wearer. A technical review should consider how thread, needle, stitch and fabric work together. The Coats: Soft and Secure Seams bulletin frames seam design around several performance dimensions; it does not supply a universal recipe for every plus-size garment.
For a purchasing brief, mark critical seams on a drawing. Include the expected appearance and any sample reference. “Premium sewing” is too vague to resolve a disagreement about a pocket opening or a hem.
A visible defect may have more than one cause
Coats: Eliminating Seam Puckering explains that puckering can have multiple contributors, including tension, feeding and material interactions. This is why the buyer should document the symptom and request a controlled investigation rather than immediately demanding tighter stitches or a thicker thread.
Record whether the issue appears before or after pressing, after washing or only when worn. Photograph the location consistently. Do not perform destructive tests on a sample needed as the approval reference without agreeing how it will be replaced.
Review the seam in its assembly
A seam in an isolated swatch may behave differently in a curved armhole, waistband or multi-layer intersection. Request the relevant assembly when the risk is local. Compare the correct material, interfacing and finishing, not a simplified substitute that removes the difficult part.
Check both sides where accessible. Loose ends, bulky joins and rough contact points can matter even when the outside is tidy. Record findings without assuming every aesthetic imperfection has the same severity. Define critical, major and minor categories with the inspection provider for the order.
Avoid treating stitch density as a quality score
A higher stitch count is not automatically stronger or better. The suitable construction depends on fabric and use. Ask the technical team to justify the specification and demonstrate its performance under relevant conditions. A visual count can help verify an agreed specification, but it is not a substitute for selecting the right one.
For an extensible garment, check whether the seam accommodates intended movement. For a delicate woven, inspect distortion and damage around needle penetrations. Do not publish durability claims from a short hand-pull demonstration.
Create a useful release record
Retain an approved assembly or garment, a seam specification and any agreed tests. Make the inspector’s criteria consistent with that reference. If bulk uses a changed thread, machine setting or fabric lot, decide which evidence must be repeated.
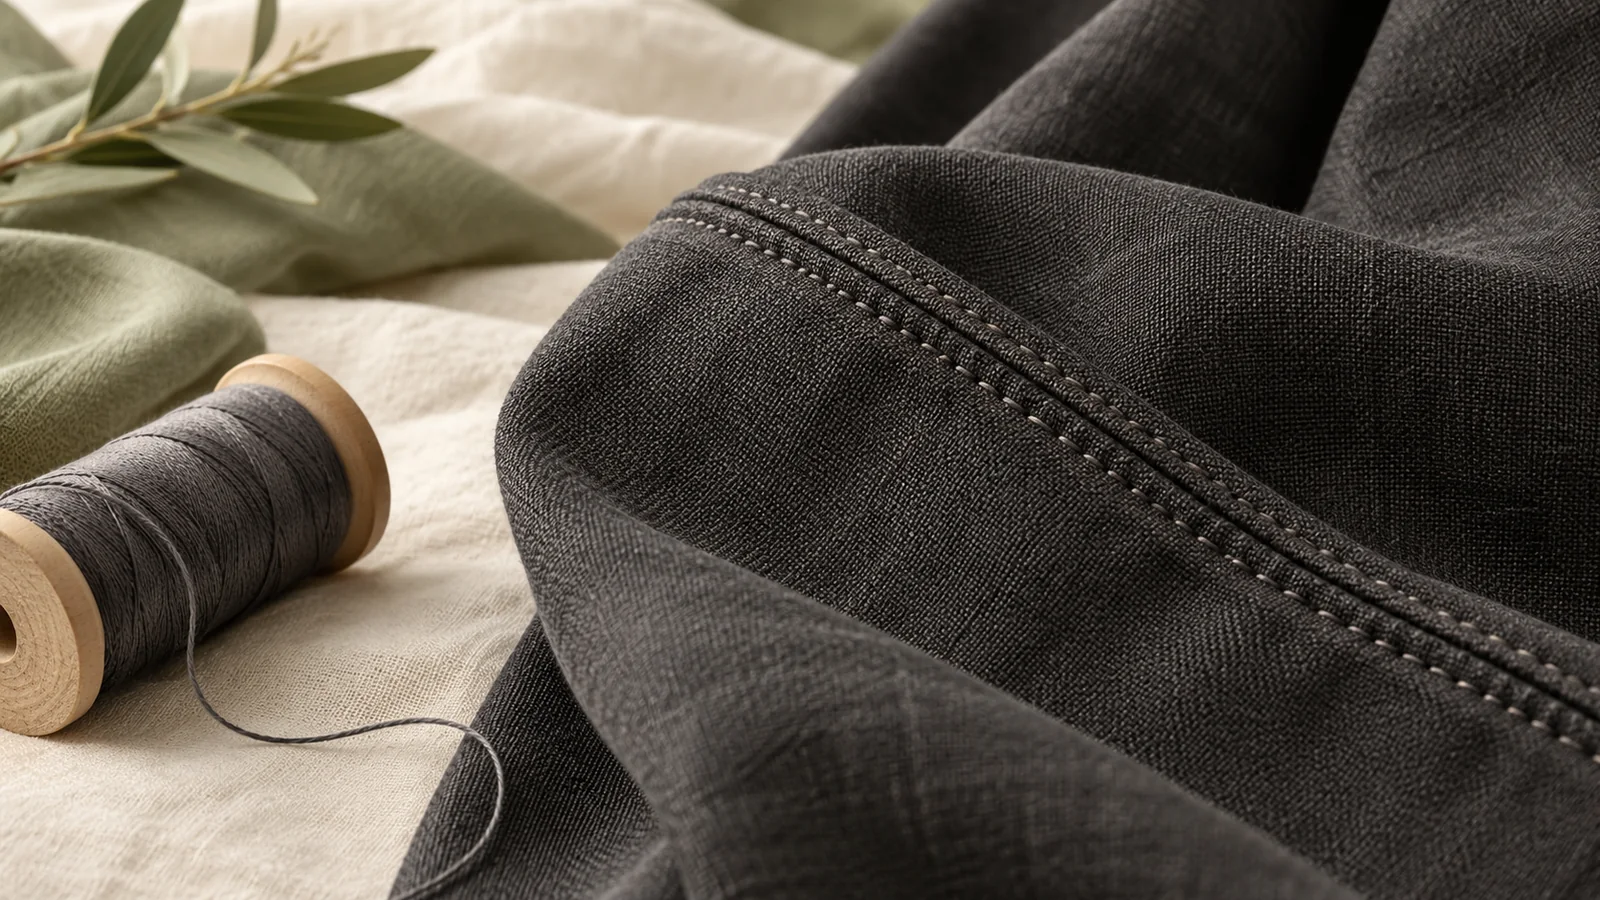
The goal is not to make the buyer operate the sewing line. It is to make quality expectations legible enough that production and inspection are checking the same garment. FORMIVA’s sewing imagery illustrates process; it does not establish measured seam strength for a product.
Make a seam map for the style
Mark the garment’s seams by function before discussing appearance. An armhole, side seam, crotch seam and decorative topstitch do not face identical conditions. Identify areas expected to extend, areas in repeated contact with the wearer and places where several layers intersect. This makes the discussion more useful than requesting “strong stitching” across the whole garment.
Ask the technical team to propose a compatible combination of seam construction, thread and machine setup. A buyer can specify the intended result without dictating an unverified recipe. If a supplier proposes a change for production efficiency, request evidence that the revised assembly still meets the agreed requirements. Keep the approved construction sample available for comparison.
Inspect inside and outside. A visually tidy exterior may conceal bulky allowances or an uncomfortable finish. Conversely, an unfamiliar stitch appearance is not necessarily a defect if it is appropriate to the construction. Classify observations using the agreed specification and intended use, not personal familiarity alone.
Separate seam opening from material failure
Consider a hypothetical movement review in which a woven side seam opens visibly under tension. The team should record whether stitches break, yarns shift near the seam or another mechanism is involved. These observations may lead to different investigations. A closer photograph helps document the location, but a qualified technical assessment is needed before prescribing a remedy.
Changing thread alone may not resolve a fabric-related issue; increasing stitch density without evaluation may also introduce unwanted effects. Ask for a controlled sample and a relevant assessment rather than approving a verbal promise that the new setup is stronger. Compare the corrected assembly after the intended care where appropriate.
For inspection planning, include the locations that matter most to the style. A decorative seam and a load-bearing seam may warrant different attention. Record the defect description clearly enough that the inspection team can identify the concern without guessing. Do not convert one acceptable sample into a claim that every seam in bulk has been tested.
Decision checklist
| Area | Review | Possible evidence |
|---|---|---|
| Stretch seam | Extension without unacceptable failure | Relevant assembly test |
| Pocket opening | Reinforcement and distortion | Approved construction sample |
| Against skin | Bulk and roughness | Consented wearing review |
| After care | Pucker and alignment | Documented care assessment |
Frequently asked questions
Does straight stitching prove strength?
No. Appearance and mechanical performance are separate checks.
Should every seam use the same thread?
Not necessarily; select the system for the fabric, location and intended use.
Is puckering always an operator error?
No. Materials, construction and machine settings can contribute.
Can I set one defect severity for all loose threads?
Agree context-specific criteria with the inspector, including location and effect on use.
Sources & scope
- Coats: Soft and Secure Seams
Seam design considerations; no product certification inferred. Publication date not stated. Checked 23 October 2026.
- Coats: Eliminating Seam Puckering
Technical supplier guidance; not a report on FORMIVA garments. Publication date not stated. Checked 23 October 2026.
Your next step
Discuss construction and inspection requirements →For your collection, confirm the style’s size chart and specifications. S–8XL is an overall development range, not a US size conversion.
Browse styles · Development services